Workflows
There are several steps necessary to get the fulltext of a scanned print. The whole OCR process is shown in the following figure:
The following instructions describe all steps of an OCR workflow. Depending on your particular print (or rather images), not all of those steps might be necessary to obtain good results. Whether a step is required or optional is indicated in the description of each step. This guide provides an overview of the available OCR-D processors and their required parameters. For more complex workflows and recommendations see the OCR-D-Website-Wiki. Feel free to add your own experiences and recommendations in the Wiki! We will regularly amend this guide with valuable contributions from the Wiki.
Note: In order to be able to run the workflows described in this guide, you need to have prepared your images in an OCR-D-workspace. We expect that you are familiar with the OCR-D-user guide which explains all preparatory steps, syntax and different solutions for executing whole workflows.
Image Optimization (Page Level)
At first, the image should be prepared for OCR.
Step 0.1: Image Enhancement (Page Level, optional)
Optionally, you can start off your workflow by enhancing your images, which can be vital for the following binarization. In this processing step, the raw image is taken and enhanced by e.g. grayscale conversion, brightness normalization, noise filtering, etc.
Note: ocrd-preprocess-image can be used to run arbitrary shell commands for preprocessing (original or derived) images, and can be seen as a generic OCR-D wrapper for many of the following workflow steps, provided a matching external tool exists. (The only restriction is that the tool must not change image size or the position/coordinates of its content.)
Available processors
| Processor | Parameter | Remark | Call |
|---|---|---|---|
| ocrd-im6convert | -P output-format image/tiff |
for output-options see IM Documentation |
ocrd-im6convert -I OCR-D-IMG -O OCR-D-ENH -P output-format image/tiff |
| ocrd-preprocess-image |
-P input_feature_filter binarized-P output_feature_added binarized-P command "scribo-cli sauvola-ms-split '@INFILE' '@OUTFILE' --enable-negate-output"
|
for parameters and command examples (presets) see the Readme |
ocrd-preprocess-image -I OCR-D-IMG -O OCR-D-PREP -P output_feature_added binarized -P command "scribo-cli sauvola-ms-split @INFILE @OUTFILE --enable-negate-output"
|
| ocrd-skimage-normalize | ocrd-skimage-normalize -I OCR-D-IMG -O OCR-D-NORM |
||
| ocrd-skimage-denoise-raw |
ocrd-skimage-denoise-raw -I OCR-D-IMG -O OCR-D-DENOISE
|
Step 0.2: Font detection
Optionally, this processor can determine the font family (e.g. Antiqua, Fraktur, Schwabacher) to help select the right models for text detection.
ocrd-typegroups-classifier annotates font families on page
level, including the confidence value (separated by colon). Supported fontFamily values:
AntiquaBastardaFrakturGotico-AntiquaGreekHebrewItalicRotundaSchwabacherTexturaother_fontnot_a_font
Note: ocrd-typegroups-classifier was trained on a very large and diverse
dataset, with both geometric and color-space random augmentation (contrast,
brightness, hue, even compression artifacts and 2 different binarization
methods), so it works best on the raw, non-binarized RGB image.
Note: ocrd-typegroups-classifier comes with a non-OCR-D CLI that allows
for the generation of “heatmaps” on the page to visualize which regions of the page
are classified as using a certain font with a certain confidence, see the
project’s README for usage instructions.
Available processors
| Processor | Parameter | Remarks | Call |
|---|---|---|---|
| ocrd-typegroups-classifier | -P network /path/to/densenet121.tgc |
Download densenet121.tgc from GitHub |
ocrd-typegroups-classifier -I OCR-D-IMG -O OCR-D-IMG-FONTS |
Step 1: Binarization (Page Level)
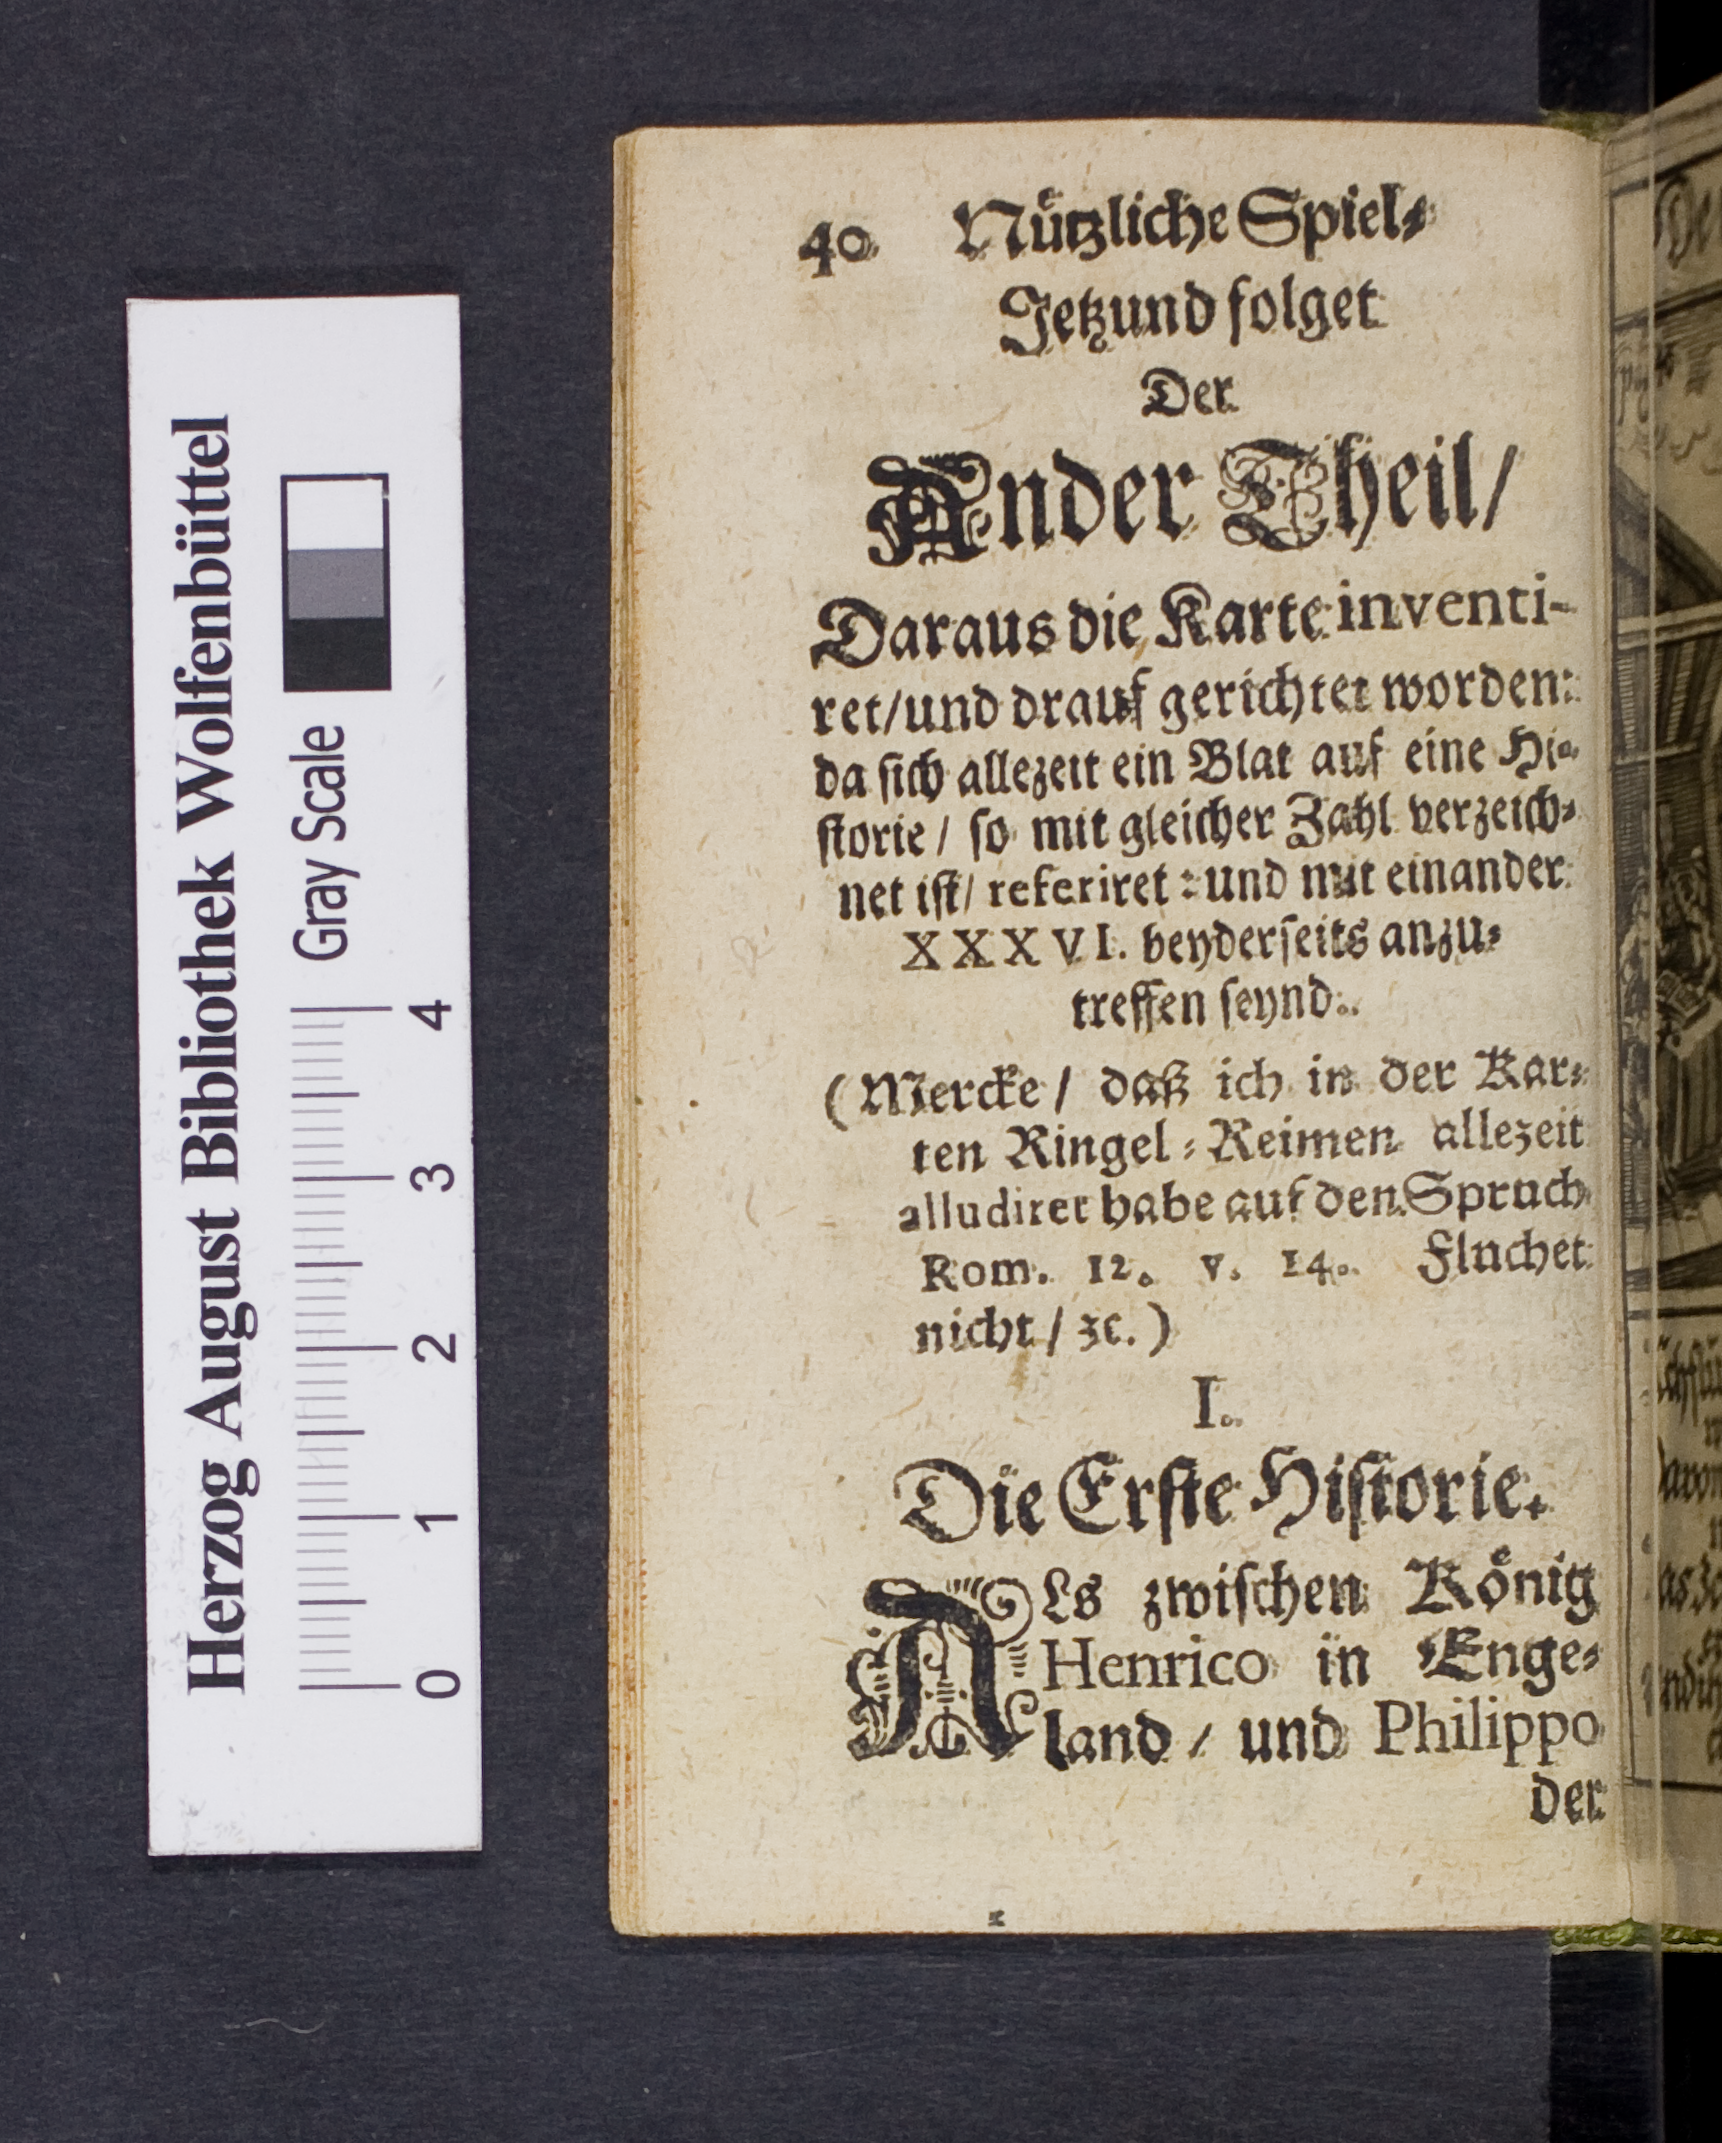
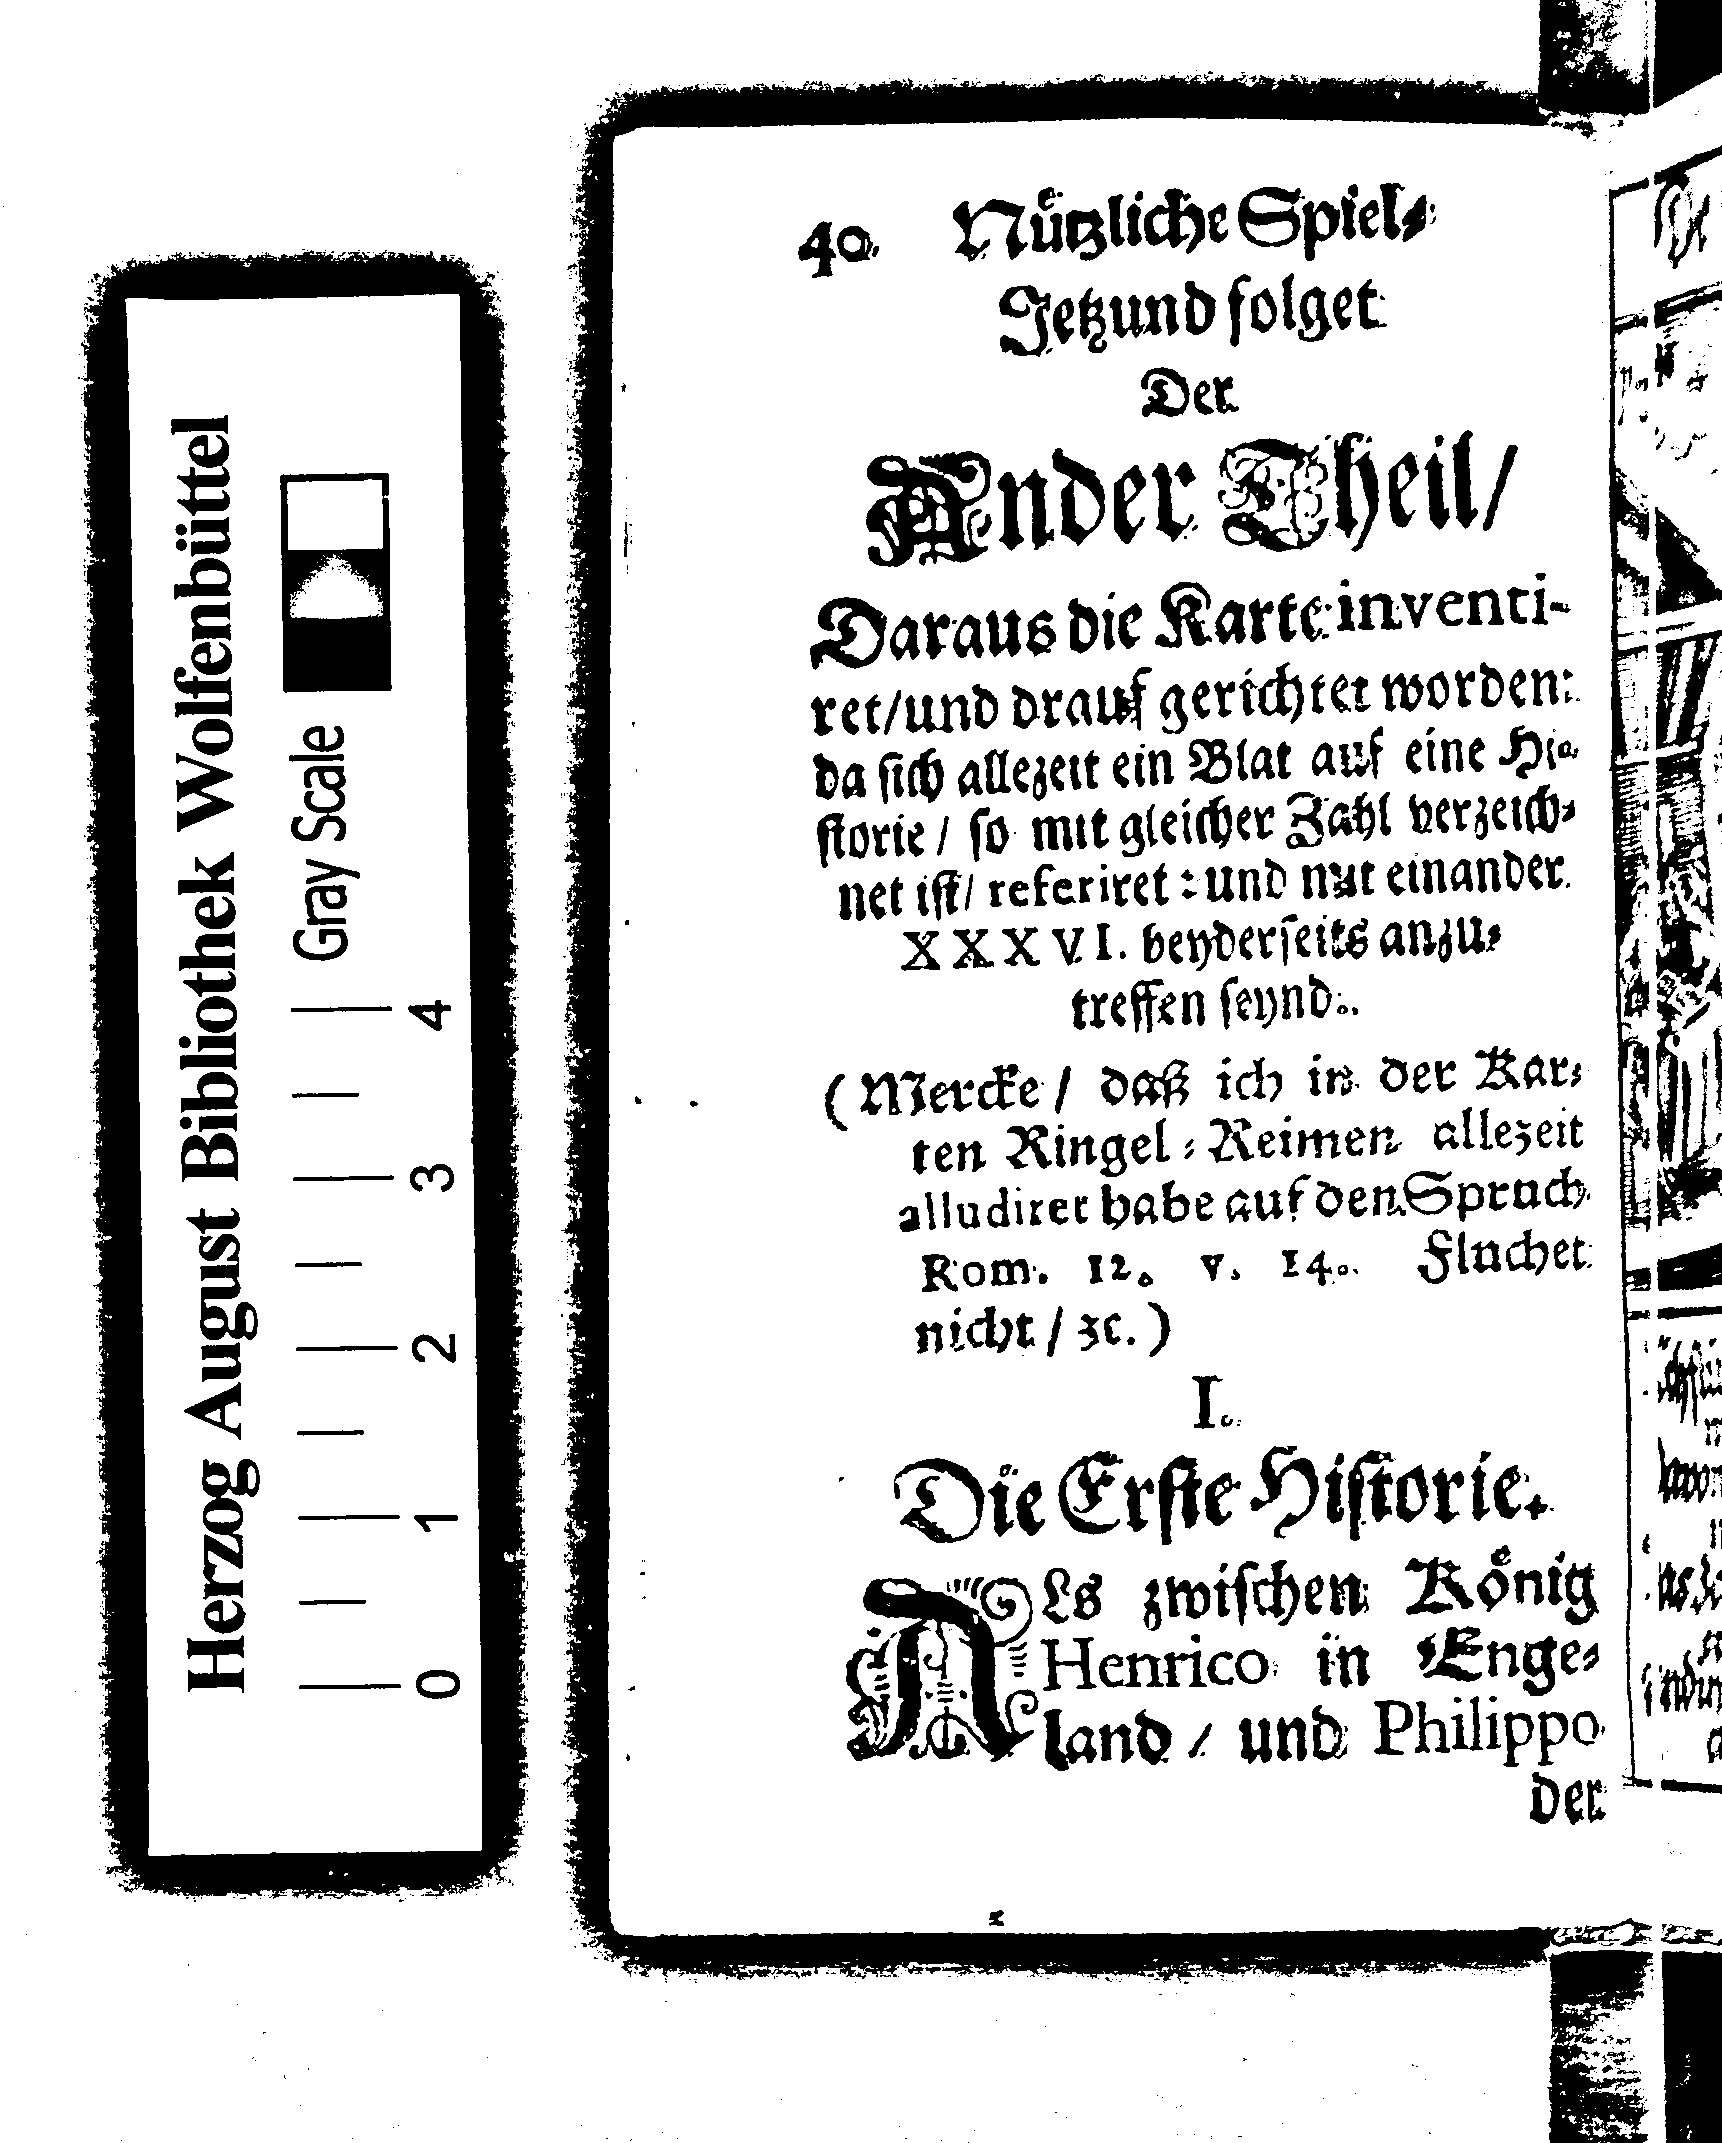
All the images should be binarized right at the beginning of your workflow. Many of the following processors require binarized images. Some implementations (for deskewing, segmentation or recognition) may produce better results using the original image. But these can always retrieve the raw image instead of the binarized version automatically.
In this processing step, a scanned colored /gray scale document image is taken as input and a black and white binarized image is produced. This step should separate the background from the foreground.
Note: Binarization tools usually provide a threshold parameter which allows you to increase or decrease the weight of the foreground. This is optional and can be especially useful for images which have not been enhanced.
|
|
Available processors
| Processor | Parameter | Remark | Call |
|---|---|---|---|
| ocrd-olena-binarize | -P impl wolf -P k 0.10
|
Fast |
ocrd-olena-binarize -I OCR-D-IMG -O OCR-D-BIN
|
| ocrd-cis-ocropy-binarize | -P threshold 0.1 |
Fast | ocrd-cis-ocropy-binarize -I OCR-D-IMG -O OCR-D-BIN |
| ocrd-sbb-binarize | -P model |
Recommended; pre-trained models can be downloaded from here or via the OCR-D resource manager | ocrd-sbb-binarize -I OCR-D-IMG -O OCR-D-BIN -P model modelname |
| ocrd-skimage-binarize | -P k 0.10 |
Slow | ocrd-skimage-binarize -I OCR-D-IMG -O OCR-D-BIN |
| ocrd-doxa-binarize | -P algorithm ISauvola |
Fast | ocrd-doxa-binarize -I OCR-D-IMG -O OCR-D-BIN |
Step 2: Cropping (Page Level)
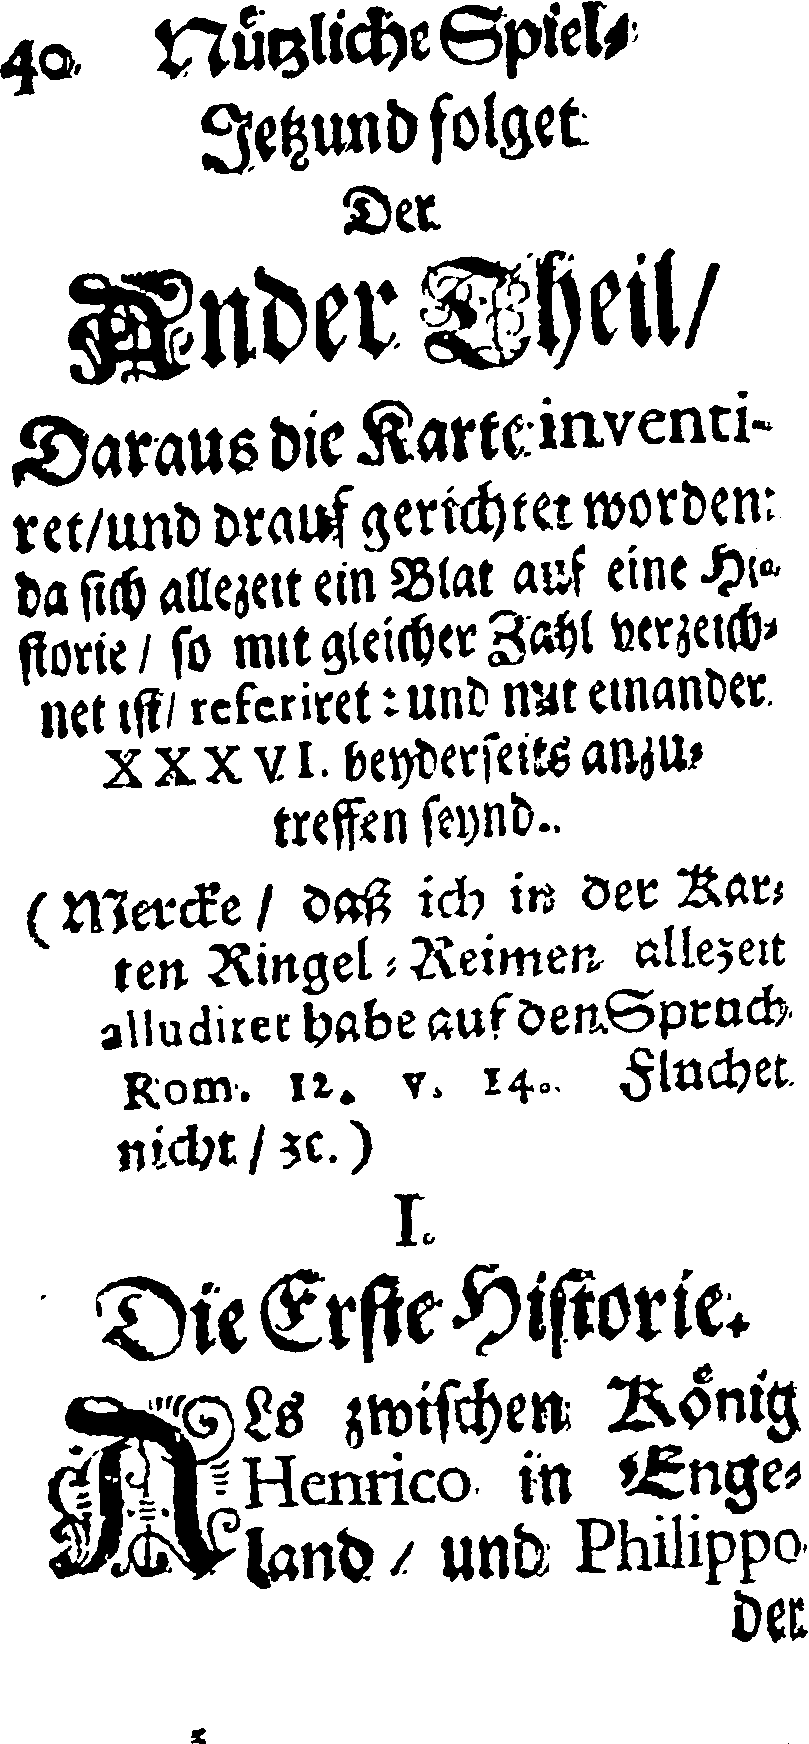
In this processing step, a document image is taken as input and the page is cropped to the content area only (i.e. without noise at the margins or facing pages) by marking the coordinates of the page frame. We strongly recommend to execute this step if your images are not cropped already (i.e. only show the page of a book without a ruler, footer, color scale etc.). Otherwise you might run into severe segmentation problems.

|
|
Available processors
| Processor | Parameter | Remarks | Call |
|---|---|---|---|
| ocrd-anybaseocr-crop | The input image has to be binarized and should be deskewed for the module to work. |
ocrd-anybaseocr-crop -I OCR-D-BIN -O OCR-D-CROP |
|
| ocrd-tesserocr-crop | Cannot cope well with facing pages (textual noise is detected as text). | ocrd-tesserocr-crop -I OCR-D-BIN -O OCR-D-CROP |
Step 3: Binarization (Page Level)
For better results, the cropped images can be binarized again at this point or later on (on region level).
Available processors
| Processor | Parameter | Remark | Call | |
|---|---|---|---|---|
| ocrd-olena-binarize | Recommended | ocrd-olena-binarize -I OCR-D-CROP -O OCR-D-BIN2 |
||
| ocrd-sbb-binarize | -P model |
pre-trained models can be downloaded from [here](https://qurator-data.de/sbb_binarization/) or via the [OCR-D resource manager](https://ocr-d.de/en/models) | ocrd-sbb-binarize -I OCR-D-IMG -O OCR-D-BIN -P model modelname |
|
| ocrd-skimage-binarize | ocrd-skimage-binarize -I OCR-D-CROP -O OCR-D-BIN2 |
|||
| ocrd-cis-ocropy-binarize | ocrd-cis-ocropy-binarize -I OCR-D-CROP -O OCR-D-BIN2 |
Step 4: Denoising (Page Level)
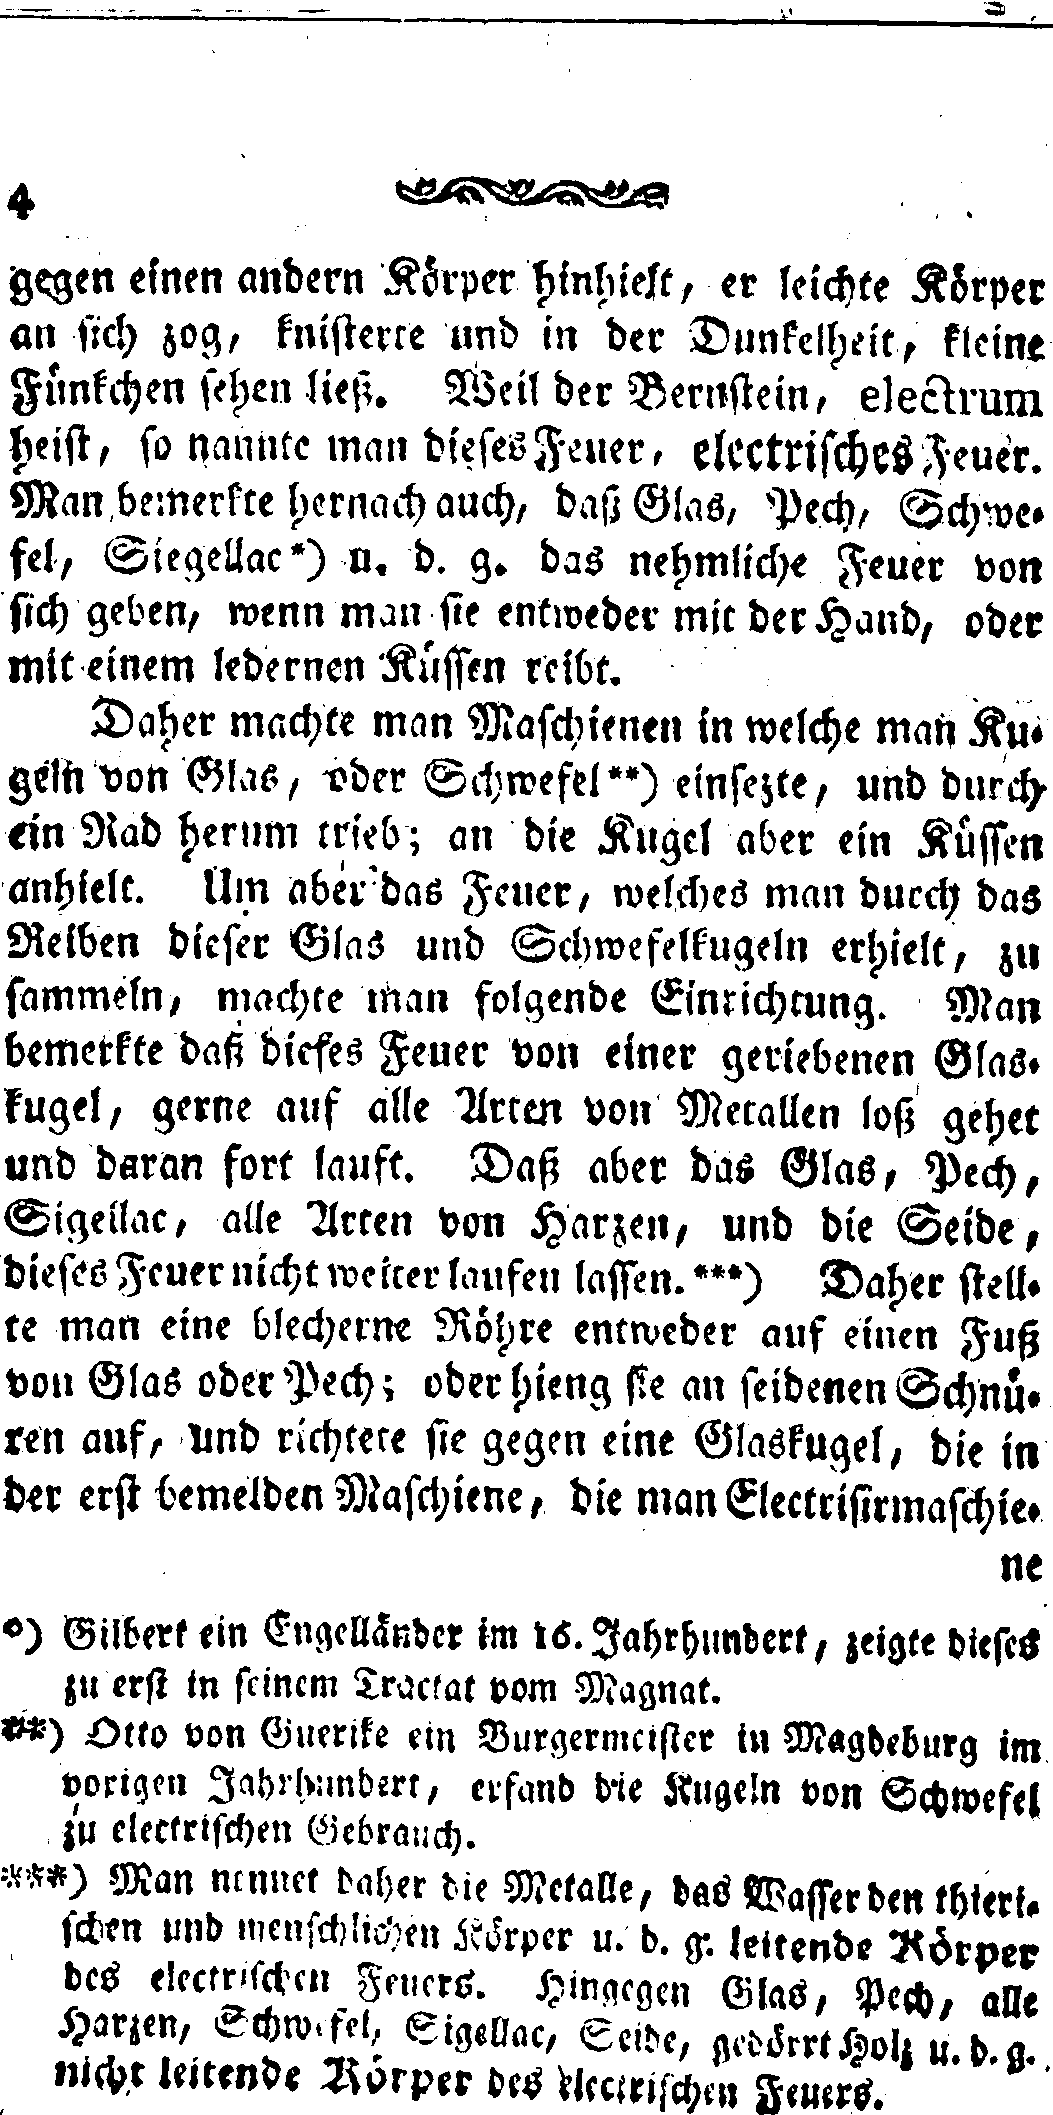
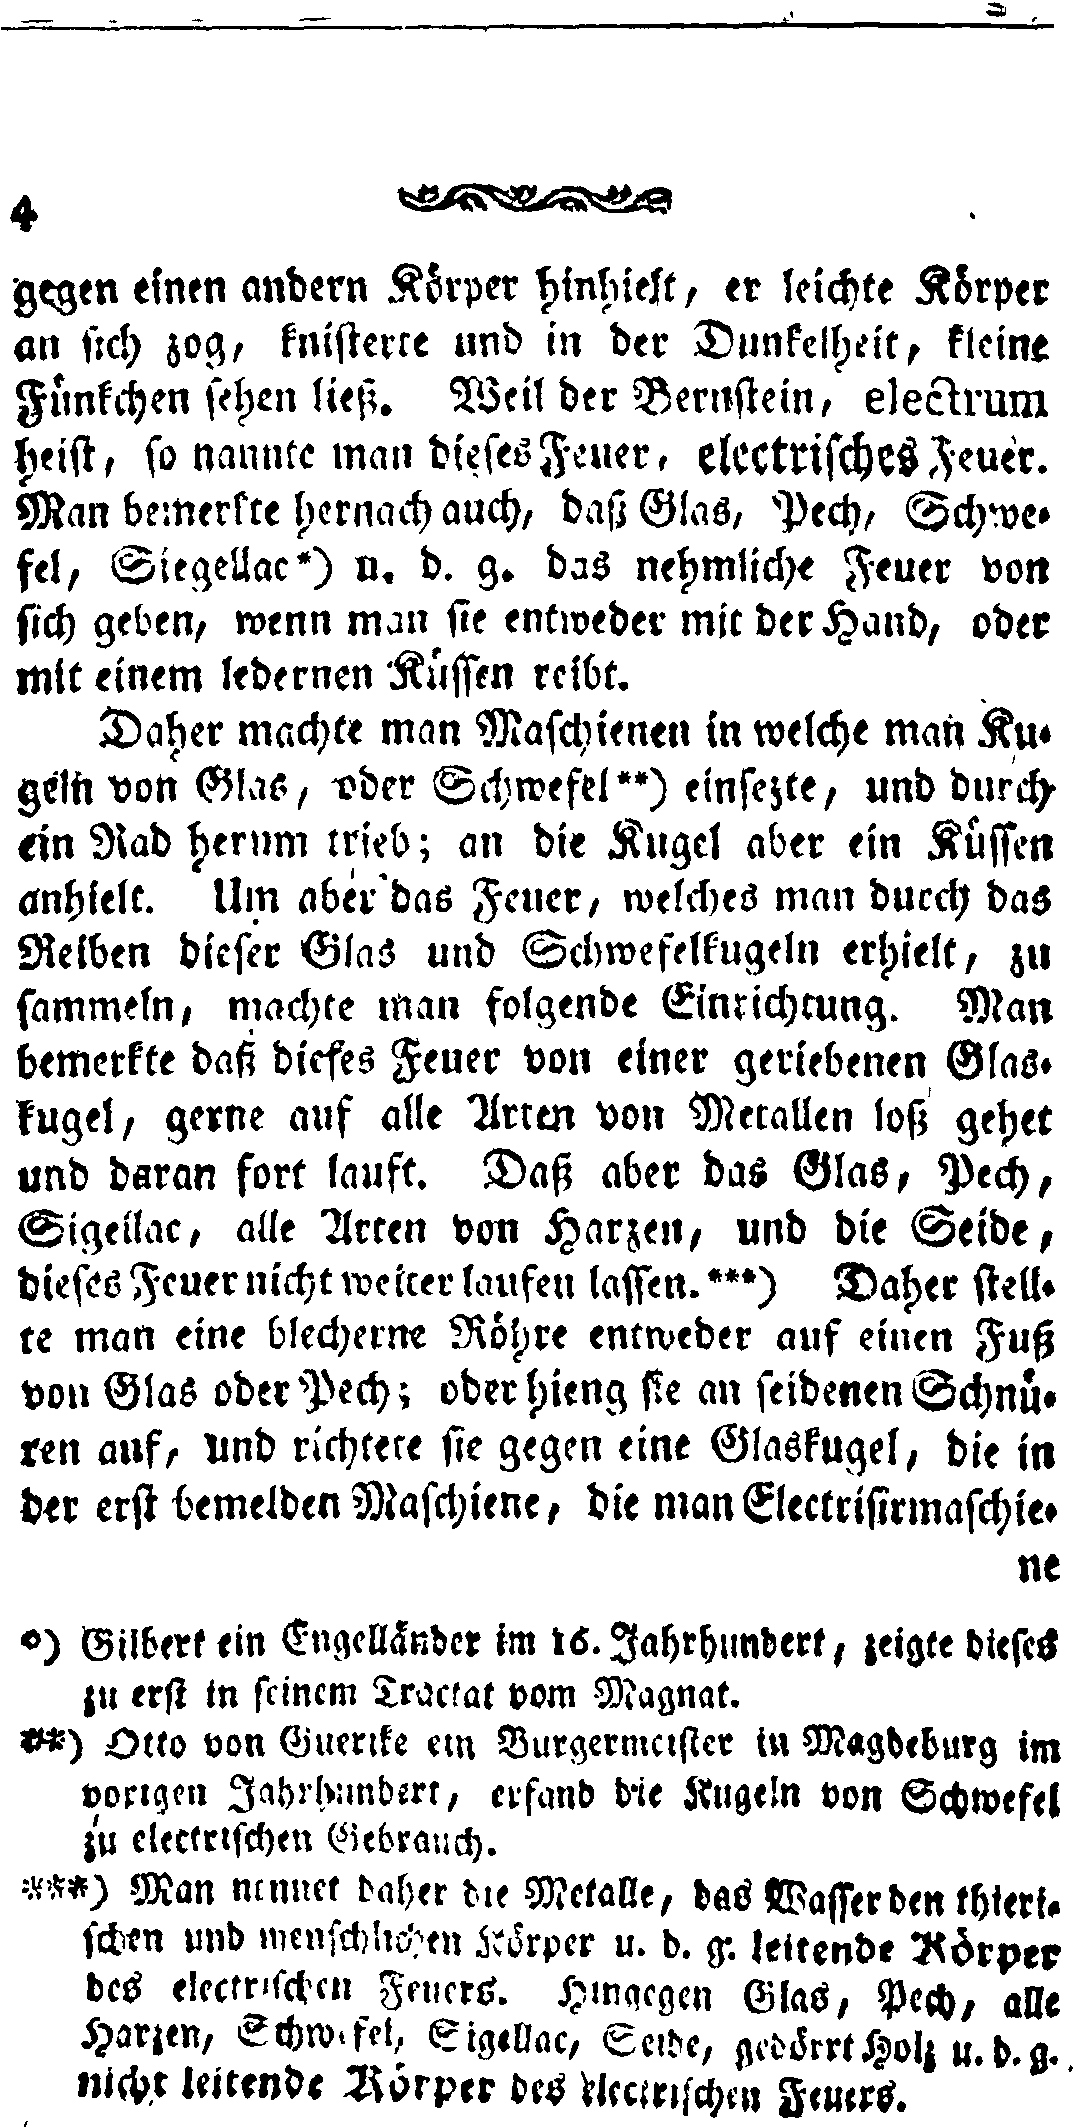
In this processing step, artifacts like little specks (both in foreground or background) are removed from the binarized image. (Not to be confused with raw denoising in step 0.)
This may not be necessary for all prints, and depends heavily on the selected binarization algorithm.
|
|
Available processors
| Processor | Parameter | Remarks | Call |
|---|---|---|---|
| ocrd-cis-ocropy-denoise | -P noise_maxsize 3.0 |
ocrd-cis-ocropy-denoise -I OCR-D-BIN2 -O OCR-D-DENOISE |
|
| ocrd-skimage-denoise | -P maxsize 3.0 |
Slow | ocrd-skimage-denoise -I OCR-D-BIN2 -O OCR-D-DENOISE |
Step 5: Deskewing (Page Level)
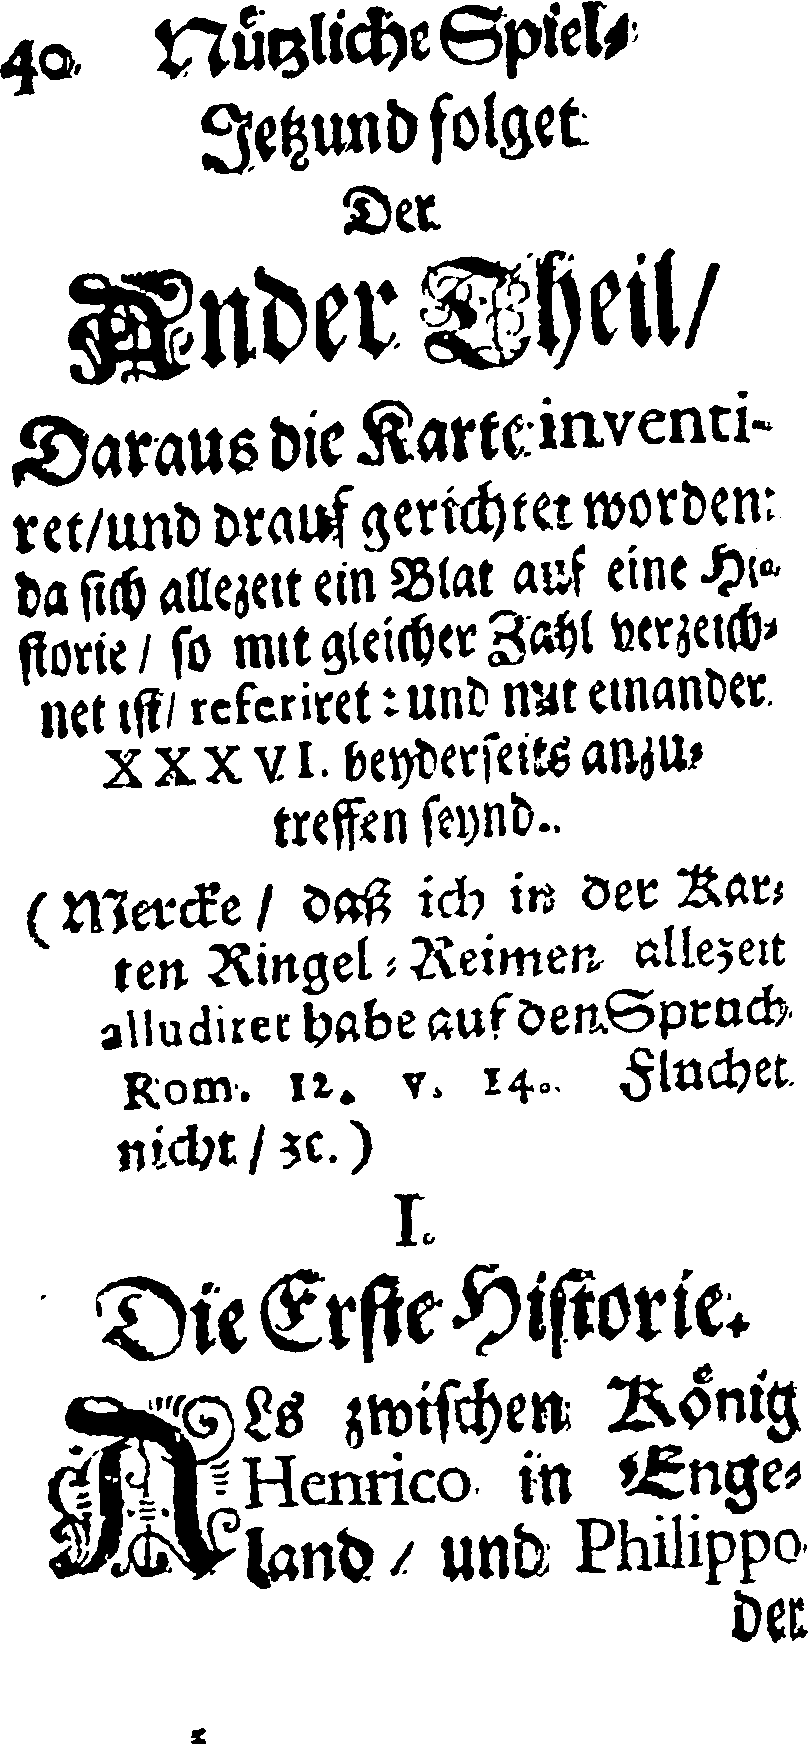
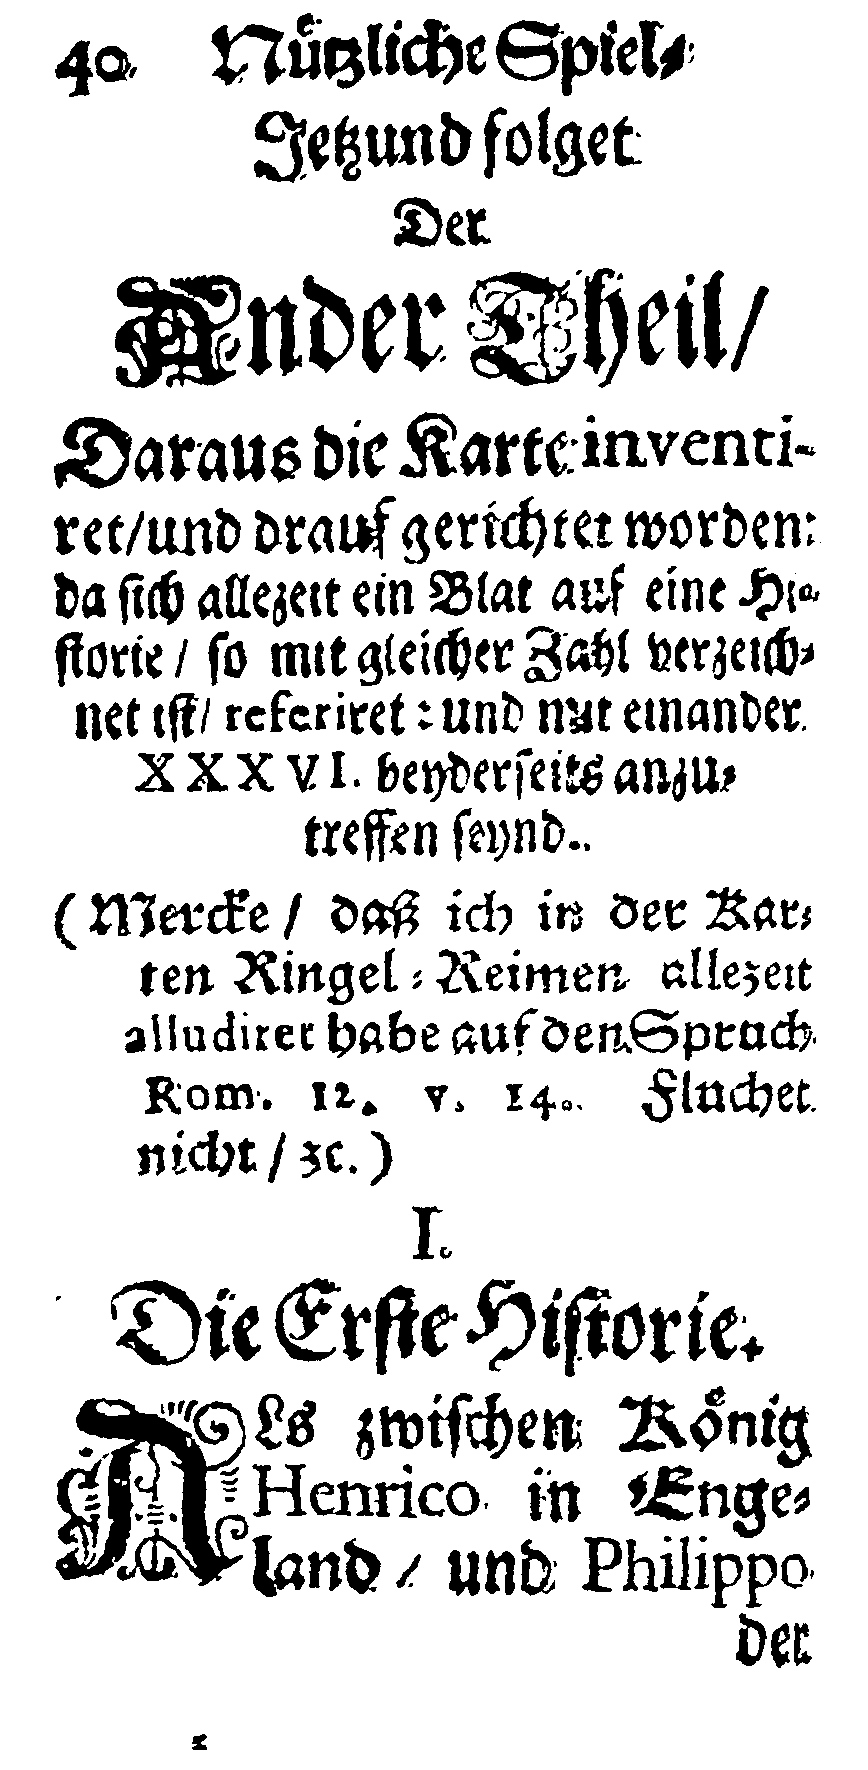
In this processing step, a document image is taken as input and the skew of that page is corrected by annotating the detected angle (-45° .. 45°) and rotating the image. Optionally, also the orientation is corrected by annotating the detected angle (multiples of 90°) and transposing the image. The input images have to be binarized for this module to work.
|
|
Available processors
| Processor | Parameter | Remarks | Call |
|---|---|---|---|
| ocrd-cis-ocropy-deskew | -P level-of-operation page |
Recommended | ocrd-cis-ocropy-deskew -I OCR-D-DENOISE -O OCR-D-DESKEW-PAGE -P level-of-operation page |
| ocrd-tesserocr-deskew | -P operation_level page |
Fast, also performs a decent orientation correction | ocrd-tesserocr-deskew -I OCR-D-DENOISE -O OCR-D-DESKEW-PAGE -P operation_level page |
Step 6: Dewarping (Page Level)
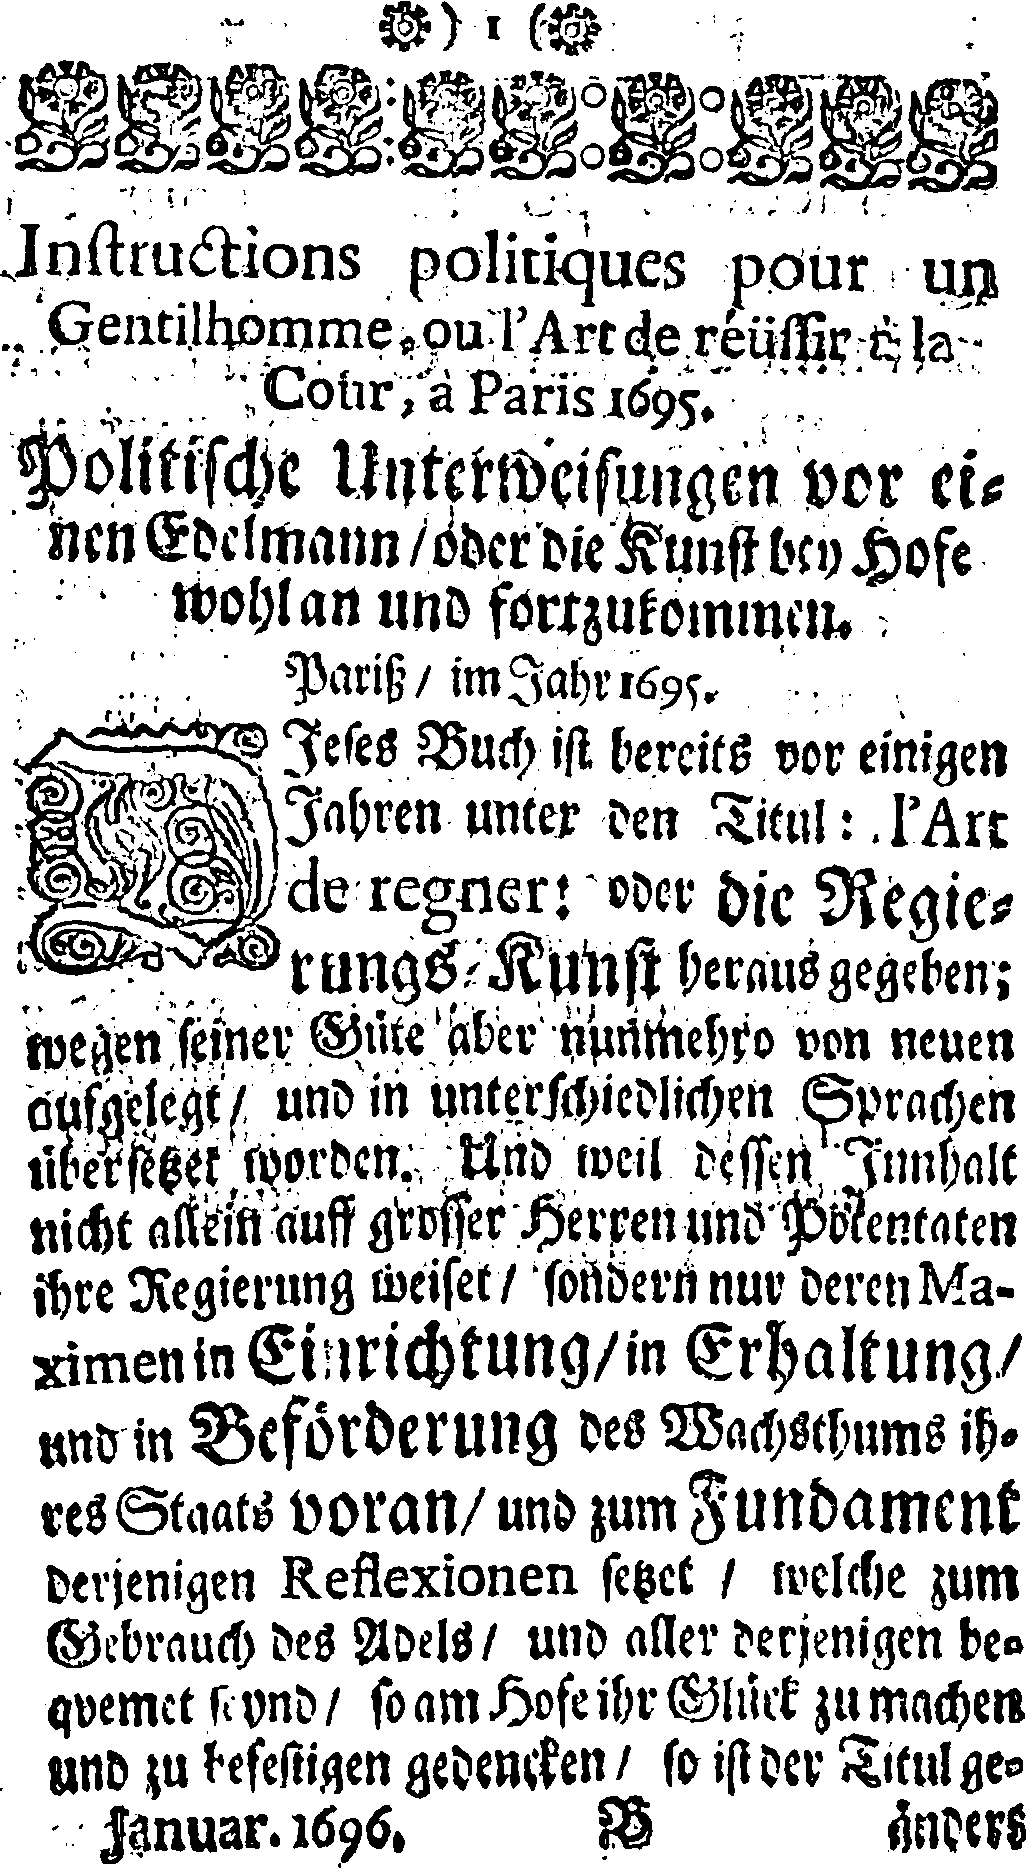
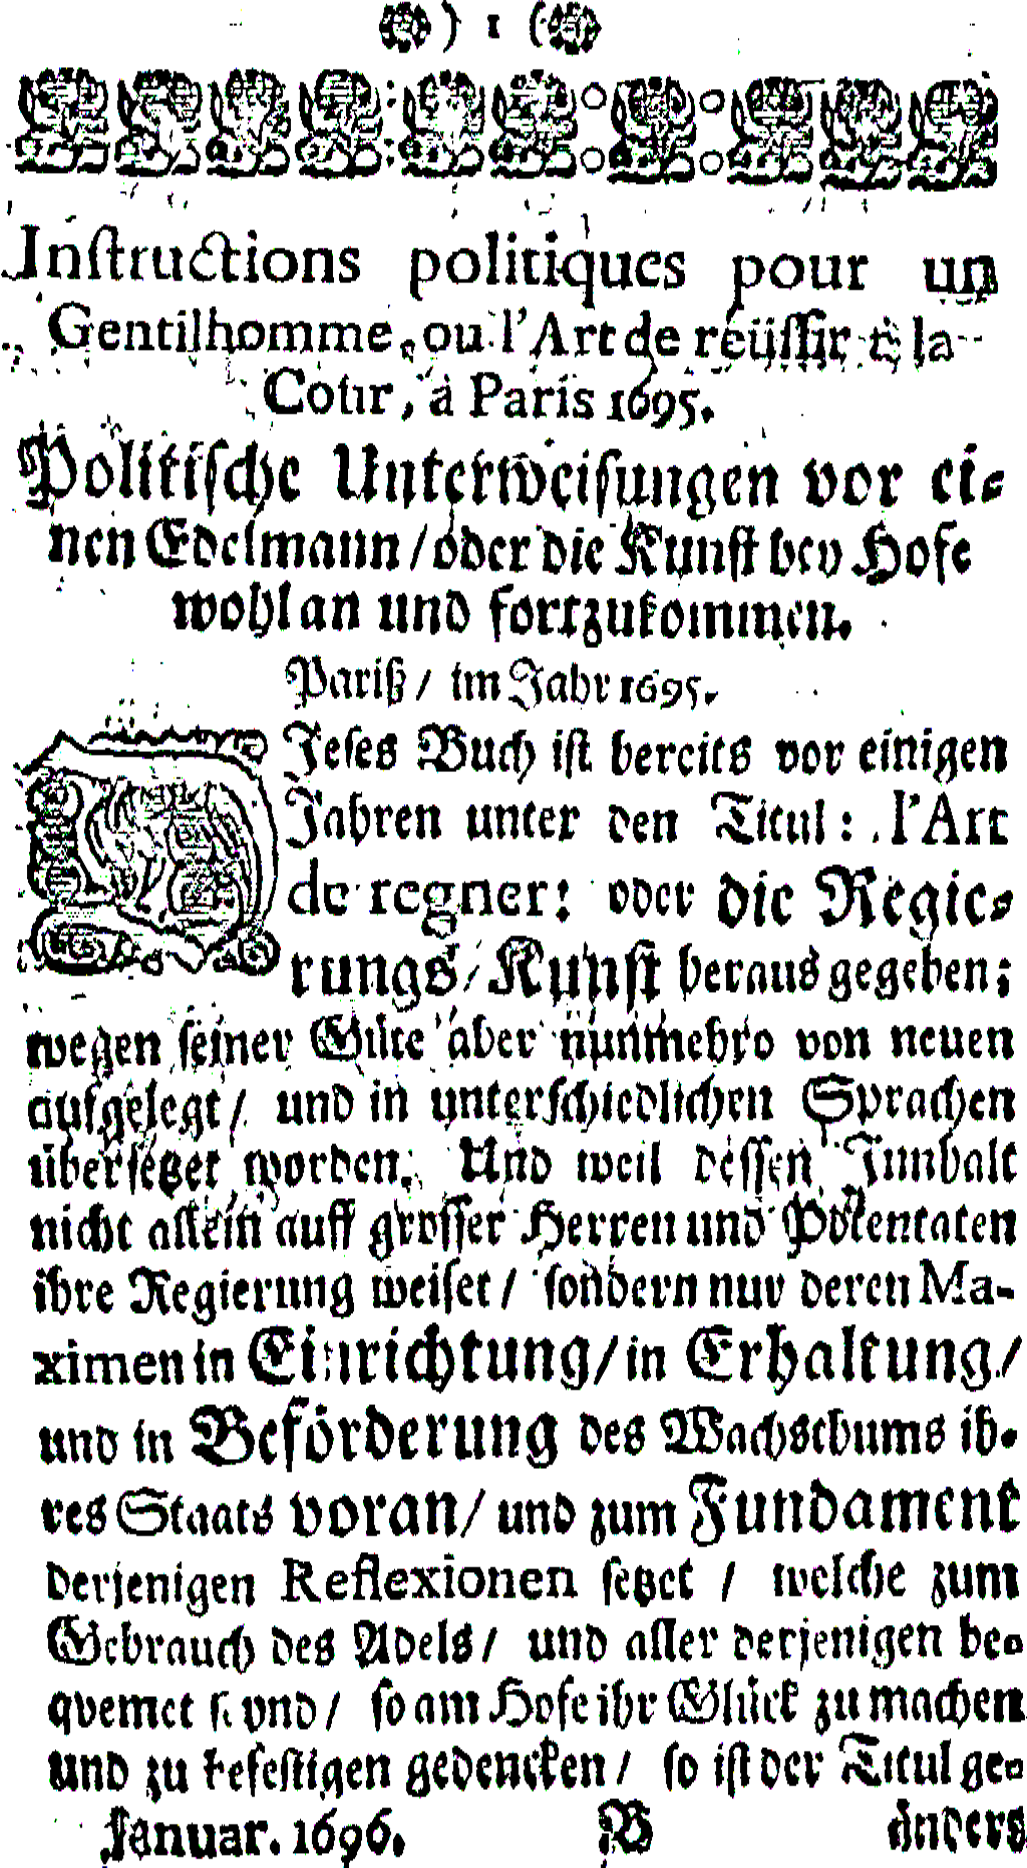
In this processing step, a document image is taken as input and the text lines are straightened or stretched if they are curved. The input image has to be binarized for the module to work.
|
|
Available processors
| Processor | Parameter | Remarks | Call |
|---|---|---|---|
| ocrd-anybaseocr-dewarp |
-P model_path /path/to/latest_net_G.pth
|
For available models take a look at this site or use the [OCR-D resource manager](https://ocr-d.de/en/models) Parameter model_path is optional if the model was installed via ocrd resmgr download ocrd-anybaseocr-dewarp '*' GPU required! |
ocrd-anybaseocr-dewarp -I OCR-D-DESKEW-PAGE -O OCR-D-DEWARP-PAGE
|
Layout Analysis
By now the image should be well prepared for segmentation.
Step 7: Region segmentation
In this processing step, an (optimized) document image is taken as an input and the image is segmented into the various regions, including columns. Segments are also classified, either coarse (text, separator, image, table, …) or fine-grained (paragraph, marginalia, heading, …).
Note: The ocrd-tesserocr-segment, ocrd-tesserocr-recognize, ocrd-eynollah-segment, ocrd-sbb-textline-detector and
ocrd-cis-ocropy-segment processors do not only segment the page, but
also the text lines within the detected text regions in one
step. Therefore with those (and only with those!) processors you don’t need to
segment into lines in an extra step and can continue with step 13 - line-level dewarping.
Note: If you use ocrd-tesserocr-segment-region, which uses only bounding
boxes instead of polygon coordinates, then you should post-process via
ocrd-segment-repair with plausibilize=True to obtain better results without
large overlaps. Alternatively, consider using the all-in-one capabilities of
ocrd-tesserocr-segment and ocrd-tesserocr-recognize, which can do region
segmentation and line segmentation (and optionally also text recognition) in
one step by querying Tesseract’s internal iterator (accessing the more precise
polygon outlines instead of just coarse bounding boxes with lots of
hard-to-recover overlap). Alternatively, run with shrink_polygons=True
(accessing that same iterator to calculate convex hull polygons).
Note: All the ocrd-tesserocr-segment* processors internally delegate to
ocrd-tesserocr-recognize, so you can replace calls to these task-specific
processors with calls to ocrd-tesserocr-recognize with specific parameters:
| processor call | ocrd-tesserocr-recognize parameters |
|---|---|
| ocrd-tesserocr-segment-region -P overwrite_regions true | ocrd-tesserocr-recognize -P textequiv_level region -P segmentation_level region -P overwrite_segments true |
| ocrd-tesserocr-segment-table -P overwrite_cells true | ocrd-tesserocr-recognize -P textequiv_level cell -P segmentation_level cell -P overwrite_segments true |
| ocrd-tesserocr-segment-line -P overwrite_lines true | ocrd-tesserocr-recognize -P textequiv_level line -P segmentation_level line -P overwrite_segments true |
| ocrd-tesserocr-segment-word -P overwrite_words true | ocrd-tesserocr-recognize -P textequiv_level word -P segmentation_level word -P overwrite_segments true |
Note: The three parameters segmentation_level, textequiv_level and
model define the behavior of ocrd-tesserocr-recognize:
segmentation_leveldetermines the highest level to segment. Use"none"to disable segmentation altogether, i.e. only recognize existing segments.textequiv_leveldetermines the lowest level to segment. Use"none"to segment until the lowest level ("glyph") and disable recognition altogether, only analyse layout.modeldetermines the model to use for text recognition. Use""or do not set at all to disable recognition, i.e. only analyse layout.
Examples:
- To segment existing regions into lines (and only lines) only:
segmentation_level="line",textequiv_level="line",model="" - To segment existing regions into lines (and only lines) and recognize text:
segmentation_level="line",textequiv_level="line",model="Fraktur"
For detailed descriptions of behaviour and options, see tesserocr’s README and
ocrd-tesserocr-recognize/segment/segment-region/segment-table/segment-line/segment-word --help help.

|
|
Available processors
| Processor | Parameter | Remarks | Call |
|---|---|---|---|
| ocrd-tesserocr-segment | -P find_tables false -P shrink_polygons true |
Recommended. Will reuse internal tesseract iterators to produce a complete segmentation with tight polygons instead of bounding boxes where possible | ocrd-tesserocr-segment -I OCR-D-DEWARP-PAGE -O OCR-D-SEG -P find_tables false -P shrink_polygons true |
| ocrd-eynollah-segment | -P models |
Models can be found here or downloaded with the OCR-D resource manager; If you didn't download the model with the resmgr, for model you need to pass the absolute path on your hard drive as parameter value. |
ocrd-eynollah-segment -I OCR-D-IMG -O OCR-D-SEG -P models default |
| ocrd-sbb-textline-detector | -P model modelname |
Models can be found here or downloaded with the OCR-D resource manager; If you didn't download the model with resmgr, for model you need to pass the local filesystem path as parameter value. |
ocrd-sbb-textline-detector -I OCR-D-DEWARP-PAGE -O OCR-D-SEG-LINE -P model /path/to/model |
| ocrd-cis-ocropy-segment | -P level-of-operation page |
ocrd-cis-ocropy-segment -I OCR-D-DEWARP-PAGE -O OCR-D-SEG-LINE -P level-of-operation page |
|
| ocrd-tesserocr-segment-region | -P find_tables false |
Recommended | ocrd-tesserocr-segment-region -I OCR-D-DEWARP-PAGE -O OCR-D-SEG-REG -P find_tables false -P shrink_polygons true |
| ocrd-segment-repair | -P plausibilize true |
Only to be used after ocrd-tesserocr-segment-region |
ocrd-segment-repair -I OCR-D-SEG-REG -O OCR-D-SEG-REPAIR -P plausibilize true |
| ocrd-anybaseocr-block-segmentation | -P block_segmentation_model mrcnn_name -P block_segmentation_weights /path/to/model/block_segmentation_weights.h5 |
For available models take a look at this site ocr download them via OCR-D resource manager;
If you didn't use resmgr, you need to pass the local filesystem path as parameter value. |
ocrd-anybaseocr-block-segmentation -I OCR-D-DEWARP-PAGE -O OCR-D-SEG-REG -P block_segmentation_model mrcnn_name -P block_segmentation_weights /path/to/model/block_segmentation_weights.h5 |
| ocrd-pc-segmentation | ocrd-pc-segmentation -I OCR-D-DEWARP-PAGE -O OCR-D-SEG-REG |
||
| ocrd-detectron2-segment | For available models, any model for Detectron2 forks trained on document layout analysis datasets can be integrated; instructions and examples can be found here |
Image Optimization (Region Level)
In the following steps, the text regions should be optimized for OCR.
Step 8: Binarization (Region Level)
In this processing step, a scanned colored /gray scale document image is taken as input and a black and white binarized image is produced. This step should separate the background from the foreground.
The binarization should be at least executed once (on page or region level). If you already binarized your image twice on page level, and have no large images, you can probably skip this step.
Available processors
| Processor | Parameter | Remarks | Call |
|---|---|---|---|
| ocrd-skimage-binarize | -P level-of-operation region |
ocrd-skimage-binarize -I OCR-D-SEG-REG -O OCR-D-BIN-REG -P level-of-operation region |
|
| ocrd-sbb-binarize | -P model -P operation_level region |
pre-trained models can be downloaded from [here](https://qurator-data.de/sbb_binarization/) or with the [OCR-D resource manager](https://ocr-d.de/en/models) | ocrd-sbb-binarize -I OCR-D-IMG -O OCR-D-BIN -P model modelname -P operation_level region |
| ocrd-preprocess-image |
-P level-of-operation region-P "output_feature_added" binarized-P command "scribo-cli sauvola-ms-split '@INFILE' '@OUTFILE' --enable-negate-output"
|
ocrd-preprocess-image -I OCR-D-SEG-REG -O OCR-D-BIN-REG -P level-of-operation region -P output_feature_added binarized -P command "scribo-cli sauvola-ms-split @INFILE @OUTFILE --enable-negate-output"
|
|
| ocrd-cis-ocropy-binarize | -P level-of-operation region-P "noise_maxsize": float |
ocrd-cis-ocropy-binarize -I OCR-D-SEG-REG -O OCR-D-BIN-REG -P level-of-operation region |
Step 9: Clipping (Region Level)
In this processing step, intrusions of neighbouring non-text (e.g. separator) or text segments (e.g. ascenders/descenders) into text regions of a page (or text lines or a text region) can be removed. A connected component analysis is run on every segment, as well as its overlapping neighbours. Now for each conflicting binary object, a rule based on majority and proper containment determines whether it belongs to the neighbour, and can therefore be clipped to the background.
This basic text-nontext segmentation ensures that for each text region there is a clean image without interference from separators and neighbouring texts. (On the region level, cleaning via coordinates would be impossible in many common cases.) On the line level, this can be seen as an alternative to resegmentation.
Note: Clipping must be applied before any processor that produces derived images for the same hierarchy level (region/line). Annotations on the next higher level (page/region) are fine of course.
Available processors
| Processor | Parameter | Remarks | Call |
|---|---|---|---|
| ocrd-cis-ocropy-clip | -P level-of-operation region |
ocrd-cis-ocropy-clip -I OCR-D-DESKEW-REG -O OCR-D-CLIP-REG -P level-of-operation region |
Step 10: Deskewing (Region Level)
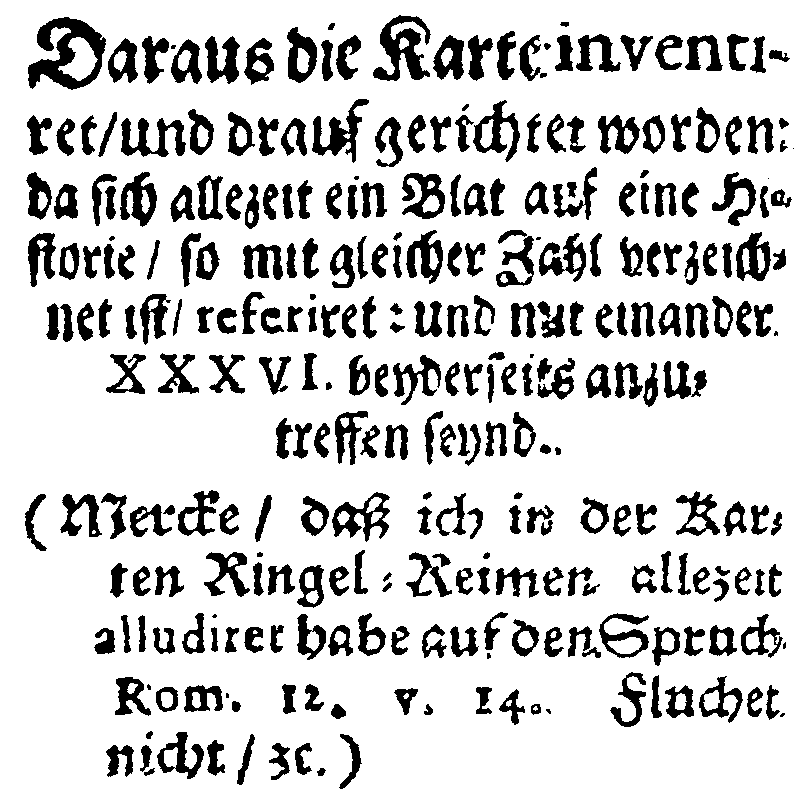
In this processing step, text region images are taken as input and their skew is corrected by annotating the detected angle (-45° .. 45°) and rotating the image. Optionally, also the orientation is corrected by annotating the detected angle (multiples of 90°) and transposing the image.
|
|
|
Available processors
| Processor | Parameter | Remarks | Call |
|---|---|---|---|
| ocrd-cis-ocropy-deskew | -P level-of-operation region |
ocrd-cis-ocropy-deskew -I OCR-D-BIN-REG -O OCR-D-DESKEW-REG -P level-of-operation region |
|
| ocrd-tesserocr-deskew | Fast, also performs a decent orientation correction | ocrd-tesserocr-deskew -I OCR-D-BIN-REG -O OCR-D-DESKEW-REG |
Step 11: Line segmentation
In this processing step, text regions are segmented into text lines. A line detection algorithm is run on every text region of every PAGE in the input file group, and a TextLine element with the resulting polygon outline is added to the annotation of the output PAGE.
Note: If you use ocrd-cis-ocropy-segment, you can directly go on with Step 13.
Note: If you use ocrd-tesserocr-segment-line, which uses only bounding
boxes instead of polygon coordinates, then you should post-process with the
processors described in Step 12.
Alternatively, consider using the all-in-one capabilities of
ocrd-tesserocr-recognize, which can do line segmentation
and text recognition in one step by querying Tesseract’s internal iterator
(accessing the more precise polygon outlines instead of just coarse bounding
boxes with lots of hard-to-recover overlap). Alternatively, run with
shrink_polygons=True (accessing that same iterator to calculate convex hull
polygons)
Note: As described in Step 7, ocrd-eynollah-segment, ocrd-sbb-textline-detector and ocrd-cis-ocropy-segment do not only segment
the page, but also the text lines within the detected text regions in one step. Therefore with those (and only with those!) processors you don’t
need to segment into lines in an extra step.

|

|
Available processors
| Processor | Parameter | Remarks | Call |
|---|---|---|---|
| ocrd-cis-ocropy-segment | -P level-of-operation region |
ocrd-cis-ocropy-segment -I OCR-D-CLIP-REG -O OCR-D-SEG-LINE -P level-of-operation region |
|
| ocrd-tesserocr-segment-line | ocrd-tesserocr-segment-line -I OCR-D-CLIP-REG -O OCR-D-SEG-LINE |
Step 12: Resegmentation (Line Level)
In this processing step the segmented text lines can be corrected in order to reduce their overlap.
This can be done either via coordinates (polygonalizing the bounding boxes tightly around the glyphs) – which is what ocrd-cis-ocropy-resegment and ocrd-segment-project offer –
or via derived images (clipping pixels that do not belong to a text line to the background color) – which is what ocrd-cis-ocropy-clip (on the line level) offers.
The former is usually more accurate, but not always possible (for example, when neighbors intersect heavily, creating non-contiguous contours). The latter is only possible if no preceding workflow
step has already annotated derived images (AlternativeImage references) on the line level (see also region-level clipping).
Available processors
| Processor | Parameter | Remarks | Call |
|---|---|---|---|
| ocrd-cis-ocropy-clip | -P level-of-operation line |
ocrd-cis-ocropy-clip -I OCR-D-SEG-LINE -O OCR-D-CLIP-LINE -P level-of-operation line |
|
| ocrd-cis-ocropy-resegment | ocrd-cis-ocropy-resegment -I OCR-D-SEG-LINE -O OCR-D-RESEG |
||
| ocrd-segment-project | -P level-of-operation line |
ocrd-segment-project -I OCR-D-SEG-LINE -O OCR-D-RESEG -P level-of-operation line |
Step 13: Dewarping (Line Level)
In this processing step, the text line images get vertically aligned if they are curved.

|

|
Available processors
| Processor | Parameter | Remarks | Call |
|---|---|---|---|
| ocrd-cis-ocropy-dewarp | ocrd-cis-ocropy-dewarp -I OCR-D-CLIP-LINE -O OCR-D-DEWARP-LINE |
Text Recognition
Step 14: Text recognition
This processor recognizes text in segmented lines.
An overview on the existing model repositories and short descriptions on the most important models can be found here.
We strongly recommend to use the OCR-D resource manager to download the models, as this way you don’t have to specify the path to each model.
Available processors
| Processor | Parameter | Remarks | Call |
|---|---|---|---|
| ocrd-tesserocr-recognize | -P model frak2021
|
Recommended Model can be found here |
TESSDATA_PREFIX="/test/data/tesseractmodels/" ocrd-tesserocr-recognize -I OCR-D-DEWARP-LINE -O OCR-D-OCR -P model Fraktur+Latin |
| ocrd-calamari-recognize |
if you downloaded your model with the [OCR-D resource manager](https://ocr-d.de/en/models), use-P checkpoint_dir modelnameelse use -P checkpoint_dir /path/to/models
|
Recommended Model can be found here; For checkpoint you need to pass the local path on your hard drive as parameter value, and keep the verbatim asterisk (*).
|
ocrd-calamari-recognize -I OCR-D-DEWARP-LINE -O OCR-D-OCR -P checkpoint_dir qurator-gt4histocr-1.0 |
Note: For ocrd-tesserocr the environment variable TESSDATA_PREFIX has
to be set to point to the directory where the used models are stored unless
the default directory (normally $VIRTUAL_ENV/share/tessdata) is used.
The directory should at least contain the following models:
deu.traineddata, eng.traineddata, osd.traineddata.
Note: Faster models for tesserocr-recognize are available from
https://ub-backup.bib.uni-mannheim.de/~stweil/ocrd-train/data/Fraktur_5000000/tessdata_fast/.
A good and currently the fastest model is
Fraktur-fast.
UB Mannheim provides many more models online
which were trained on different GT data sets, for example from
Austrian Newspapers.
Note: If you want to go on with the optional post correction, you should also set the textequiv_level to glyph or in the case of
ocrd-calamari-recognize at least word (which is already the default for ocrd-tesserocr-recognize).
Step 14.1: Font style annotation
This processor can determine the font style (e.g. italic, bold, underlined) and font family text recognition results.
ocrd-tesserocr-fontshape can either use existing segmentation or
segment on-demand. It can detect the following font styles:
fontSizefontFamilybolditalicunderlinedmonospaceserif
Note: ocrd-tesserocr-fontshape needs the old, pre-LSTM models to work at
all. You can use the pre-installed osd (which is purely rule-based), but
there might be better alternatives for your language and script. You can still
get the old models from Tesseract’s Github repo at the last
revision
before the LSTM
models
replaced them, usually under the same name. (Thus, deu.traineddata used to be
a rule-based model but now is an LSTM model. deu-frak.traineddata is still
only available as rule-based model and was complemented by the new LSTM models
deu_latf.traineddata and script/Fraktur.traineddata.) If you do need one of the
models that was replaced completely, then you should at least rename the old
one (e.g. to deu3.traineddata).
Available processors
| Processor | Parameter | Remarks | Call |
|---|---|---|---|
| ocrd-tesserocr-fontshape | -P model osd -P padding 2 |
Download other pre-LSTM models from GitHub | ocrd-tesserocr-fontshape -I OCR-D-OCR -O OCR-D-OCR-FONT |
Post Correction (Optional)
Step 15: Text alignment
In this processing step, text results from multiple OCR engines (in different annotations sharing the same line segmentation) are aligned into one annotation.
Available processors
| Processor | Parameter | Remarks | Call |
|---|---|---|---|
| ocrd-cor-asv-ann-align |
-P method majority
|
ocrd-cor-asv-ann-align -I OCR-D-OCR1,OCR-D-OCR2,OCR-D-OCR3 -O OCR-D-ALIGN |
|
| ocrd-cis-align | ocrd-cis-align -I OCR-D-OCR1,OCR-D-OCR2,OCR-D-OCR3 -O OCR-D-ALIGN |
Comparison
| ocrd-cor-asv-ann-align | ocrd-cis-align | |
|---|---|---|
| goal | optimal aligned string (i.e. as post-correction) | candidates for input for ocrd-cis-postcorrect |
| input arity | N fileGrps | N fileGrps (first as “master”) |
| input constraints | textlines must have common IDs | regions and textlines must be in same order |
| input level | textline (+ optionally words or glyphs for confidence) | textline (for strings) and word (for resegmentation) |
| output | PAGE with single-best TextEquiv per textline | PAGE with multiple aligned TextEquivs per textline |
| alignment library | difflib.SequenceMatcher |
de.lmu.cis.ocrd.align |
| alignment method | true n-ary multi-alignment (closest pairs first), including lower level confidences | 1:n alignment with master also restricting allowable word-segmentation |
| decision | majority voting, confidence voting, or combination | no decision |
Step 16: Post-correction
In this processing step, the recognized text is corrected by statistical error modelling, language modelling, and word modelling (dictionaries, morphology and orthography).
Note: Most tools benefit strongly from input which includes alternative OCR hypotheses. Currently, models for ocrd-cor-asv-ann-process
are optimised for input from specific OCR models, whereas ocrd-cis-postcorrect expects input from multi-OCR alignment. For more information, see this presentation at vDHd 2021 (held on 23rd May 2021) (slides / video in German)
Note: There is some overlap with text alignment here, which can also be used (or contribute to) post-correction.
Available processors
| Processor | Parameter | Remarks | Call |
|---|---|---|---|
| ocrd-cor-asv-ann-process | -P textequiv_level word -P model_file modelname |
Pre-trained models can be found here and here or downloaded via the OCR-D resource manager;
If you didn't download the model with resmgr, for model_file you need to pass the local filesystem path
as parameter value.
(Relative paths are resolved from the workspace directory or the environment variable CORASVANN_DATA.)
There is no default model_file. |
ocrd-cor-asv-ann-process -I OCR-D-OCR -O OCR-D-PROCESS -P textequiv_level word -P model_file /path/to/model/model.h5 |
| ocrd-cis-postcorrect | -P profilerPath /path/to/profiler.bash -P profilerConfig ignored -P nOCR 2 -P model /path/to/model/model.zip |
The profilerConfig parameters can be specified in a JSON file. If you do not want to use a profiler, you can set the value for profilerConfig to ignored.
In this case, your profiler.bash should look like this:model you need to pass the local filesystem path as parameter value.
There is no default model.
|
ocrd-cis-postcorrect -I OCR-D-ALIGN -O OCR-D-CORRECT -p postcorrect.json |
Evaluation (Optional)
If Ground Truth data is available, the OCR and layout recognition can be evaluated.
Step 17: Layout Evaluation
In this processing step, GT annotation and segmentation results are matched and evaluated.
Available processors
| Processor | Parameter | Remarks | Call |
|---|---|---|---|
| ocrd-segment-evaluate |
-P level-of-operation region
-P only-fg true
-P ignore-subtype true
-P for-categories TextRegion,TableRegion
|
alpha | ocrd-segment-evaluate -I OCR-D-GT-SEG,OCR-D-SEG -O OCR-D-SEG-EVAL |
Step 18: OCR Evaluation
In this processing step, the text output of the OCR or post-correction can be evaluated by aligning with ground truth text and measuring the error rates.
Available processors
| Processor | Parameter | Remarks | Call |
|---|---|---|---|
| ocrd-dinglehopper |
-P textequiv_level region
|
For page-wise visual comparison (2 file groups). First input group should point to the ground truth. | ocrd-dinglehopper -I OCR-D-GT,OCR-D-OCR -O OCR-D-EVAL |
| ocrd-cor-asv-ann-evaluate |
-P metric historic-latin
-P gt_level 2
-P confusion 20
-P histogram true
|
For document-wide aggregation (N file groups). First input group should point to the ground truth. | ocrd-cor-asv-ann-evaluate -I OCR-D-GT,OCR-D-OCR -O OCR-D-EVAL |
Comparison
| ocrd-dinglehopper | ocrd-cor-asv-ann-evaluate | |
|---|---|---|
| goal | CER/WER and visualization | CER/WER (mean+stddev) |
| granularity | only single pages | single-page + aggregated |
| input arity | 2 fileGrps | N fileGrps |
| input constraints | segmentations may deviate | segments must have same IDs |
| input level | region or textline | textline |
| output | HTML + JSON report per page | JSON report per page+all |
| alignment | rapidfuzz.string_metric.levenshtein_editops |
difflib.SequenceMatcher |
| Unicode | uniseg.graphemeclusters to get distances on graphemes |
calculates alignment on codepoints, but post-processes combining characters |
| charset | NFC + a set of normalizations that (roughly) target OCR-D GT transcription guidelines level 3 to level 2 | NFC or NFKC or a custom normalization (called historic_latin) with setting gt_level 1/2/3 |
Generic Data Management (Optional)
OCR-D produces PAGE XML files which contain the recognized text as well as detailed information on the structure of the processed pages, the coordinates of the recognized elements etc. Optionally, the output can be converted to other formats, or copied verbatim (re-generating PAGE-XML)
Step 19: Adaptation of Coordinates
All OCR-D processors are required to relate coordinates to the original image for each page, and to keep the original image reference (Page/@imageFilename). However, sometimes it may be necessary to deviate from that strict requirement in order to get the overall workflow to function properly.
For example, if you have a page-level dewarping step, it is currently impossible to correctly relate to the original image’s coordinates for any segments annotated after that, because there is no descriptive annotation of the underlying coordinate transform in PAGE-XML. Therefore, it is better to replace the original image of the output PAGE-XML by the dewarped image before proceeding with the workflow. (If the dewarped image has also been cropped or deskewed, then of course all existing coordinates are re-calculated accordingly as well.)
Another use case is exporting PAGE-XML for tools that cannot apply cropping or deskewing, like LAREX or Transkribus.
Conversely, you might want to align two PAGE-XML files for the same page that have different original image references, projecting all segments below the page level from the one to the other (transforming all coordinates according to the page-level annotation, or keeping them unchanged).
Available processors
| Processor | Parameter | Remarks | Call |
|---|---|---|---|
| ocrd-segment-replace-original | ocrd-segment-replace-original -I OCR-D-CROP-DESK -O OCR-D-CROP-DESK-SUBST |
||
| ocrd-segment-replace-page | ocrd-segment-replace-page -I OCR-D-CROP-DESK,OCR-D-CROP-DESK-SUBST-SEG -O OCR-D-CROP-DESK-SEG -P transform_coordinates true |
Step 20: Format Conversion
In this processing step the produced PAGE XML files can be converted to ALTO, PDF, hOCR or text files. Note that ALTO and hOCR can also be converted into different formats whereas the PDF version of PAGE XML OCR results is a widely accessible format that can be used as-is by expert and layman alike.
Available processors
| Processor | Parameter | Remarks | Call |
|---|---|---|---|
| ocrd-fileformat-transform | |
As the value consists of two words, when using -P form it has to be enclosed in quotation marks.If you want to save all OCR results in one file, you can use the following command: cat OCR* > full.txt |
ocrd-fileformat-transform -I OCR-D-OCR -O OCR-D-ALTO |
| mets-mods2tei | --ocr -T FULLTEXT -I OCR-D-IMG |
Not a processor CLI, processes the workspace METS, generating a single TEI (DTABf-formatted) for the whole document. Only takes ALTO input, so usually needs a prior ocrd-fileformat-transform -I OCR-D-OCR -O FULLTEXT -P from-to "page alto".
|
mm2tei --ocr -T FULLTEXT -I OCR-D-IMG -O TEI.xml |
| ocrd-page2tei | generates a single TEI (using page2tei XSLT with Saxon) for the whole document. | ocrd-page2tei -I OCR-D-OCR -O OCR-D-TEI |
|
| ocrd-pagetopdf | |
ocrd-pagetopdf -I OCR-D-OCR -O OCR-D-PDF -P textequiv_level word |
|
| ocrd-segment-extract-pages | -P mimetype image/png -P transparency true |
Get page images (cropped and deskewed as annotated; raw and binarized) and mask images (color-coded for regions) along with JSON files for region annotations (custom and COCO format). | ocrd-segment-extract-pages -I OCR-D-SEG-REGION -O OCR-D-IMG-PAGE,OCR-D-IMG-PAGE-BIN,OCR-D-IMG-PAGE-MASK |
| ocrd-segment-extract-regions | -P mimetype image/png -P transparency true |
Get region images (cropped, masked and deskewed as annotated) along with JSON files for region annotations (custom format). | ocrd-segment-extract-regions -I OCR-D-SEG-REGION -O OCR-D-IMG-REGION |
| ocrd-segment-extract-lines | -P mimetype image/png -P transparency true |
Get text line images (cropped, masked and deskewed as annotated) along with text files (Ocropus convention) and JSON files for line annotations (custom format). | ocrd-segment-extract-lines -I OCR-D-SEG-LINE -O OCR-D-IMG-LINE |
| ocrd-segment-extract-words | -P mimetype image/png -P transparency true |
Get word images (cropped, masked and deskewed as annotated) along with text files (Ocropus convention) and JSON files for word annotations (custom format). | ocrd-segment-extract-words -I OCR-D-SEG-WORD -O OCR-D-IMG-WORD |
| ocrd-segment-extract-glyphs | -P mimetype image/png -P transparency true |
Get glyph images (cropped, masked and deskewed as annotated) along with text files (Ocropus convention) and JSON files for glyph annotations (custom format). | ocrd-segment-extract-glyphs -I OCR-D-SEG-GLYPH -O OCR-D-IMG-GLYPH |
| ocrd-segment-from-masks | |
Import mask images as region segmentation. If colordict is empty, defaults to PageViewer color scheme (also written by ocrd-segment-extract-pages). |
ocrd-segment-from-masks -I OCR-D-SEG-PAGE,OCR-D-IMG-PAGE-MASK -O OCR-D-SEG-REGION |
| ocrd-segment-from-coco | Import COCO format region segmentation (also written by ocrd-segment-extract-pages). |
ocrd-segment-from-coco -I OCR-D-SEG-PAGE,OCR-D-SEG-COCO -O OCR-D-SEG-REGION |
Step 20.1: Generic transformations
Sometimes PAGE-XML annotations need to be processed specially to make a workflow’s processors interoperate properly. For example, a text producing processor might forget to make TextEquiv consistent between hierarchy levels, or it might be necessary to remove specific region types. Also, repairing minor syntactic or semantic deficiencies is usually required for export or visualization, like removing empty ReadingOrder and dead @regionRefs, ensuring each TextEquiv has a Unicode, or fixing negative or floating-point coordinates. While it is always possible to do that ad-hoc via scripts, it might help formulate this as a proper workflow step via processor CLI.
Available processors
| Processor | Parameter | Remarks | Call |
|---|---|---|---|
| ocrd-page-transform | -P xsl page-remove-regions.xsl -P xslt-params "-s type=ImageRegion" |
Many useful XSLTs come as preinstalled resources, but can be passed any XSL file. Specify mimetype if the output is not PAGE-XML anymore |
ocrd-page-transform |
Step 21: Archiving
After you have successfully processed your images, the results should be saved and archived. OLA-HD is a longterm archive system which works as a mixture between an archive system and a repository. For further details on OLA-HD see the extensive concept paper. You can also check out the prototype to make sure, OLA-HD meets your needs and requirements. To use the prototype, specify http://141.5.98.232/api as the endpoint parameter in your call.
Available processors
| Processor | Parameter | Remarks | Call |
|---|---|---|---|
| ocrd-olahd-client | { "endpoint": "URL of your OLA-HD instance", "username": "X", "password": "*" } | the parameters should be written to a json file: echo '{ "endpoint": "URL of your OLA-HD instance", "username": "X", "password": "*"}' > olahd.json |
ocrd-olahd-client -I OCR-D-OCR -p olahd.json |
Step 22: Dummy Processing
Sometimes it can be useful to have a dummy processor, which takes the files in an Input fileGrp and copies them the a new Output fileGrp, re-generating the PAGE XML from the current namespace schema/model.
Available processors
| Processor | Parameter | Remarks | Call |
|---|---|---|---|
| ocrd-dummy | ocrd-dummy -I OCR-D-FILEGRP -O OCR-D-DUMMY |
Recommendations
In order to facilitate the usage of OCR-D and the configuration of workflows, we provide two workflows which can be used as a start for your OCR-D-tests. They were determined by testing the processors listed above on selected pages of some prints from the 17th and 18th century.
The results vary quite a lot from page to page. In most cases, segmentation is a problem.
Note that for our test pages, not all steps described above werde needed to obtain the best results. Depending on your particular images, you might want to include those processors again for better results.
We are currently working on regression tests with the help of which we will be able to provide more profound workflows soon, which will replace those interim solutions.
Minimal workflow
Since ocrd-tesserocr-recognize can do binarization (Otsu), region
segmentation, table recognition, line segmentation and text recognition at once, just like the
upstream tesseract command line tool, it’s a good single-step workflow to get
a baseline result to compare to granular workflows.
Note: Be aware that you will most likely obtain significantly better results by configuring a more granular workflow like e.g. the workflows below.
| Step | Processor | Parameter |
|---|---|---|
| 1 | ocrd-tesserocr-recognize | -P segmentation_level region -P textequiv_level word -P find_tables true -P model frak2021 |
Example with ocrd-process
ocrd process "tesserocr-recognize -P segmentation_level region -P textequiv_level word -P find_tables true -P model frak2021"